Darn Good Recipes
Speedy, Easy, Tasty
Vegetables Category
These are darn good vegetables recipes and articles at DarnGoodRecipes.com™. Covers main vegetables courses, vegetable casseroles, vegetable sides, & much more.
Posts for Vegetables
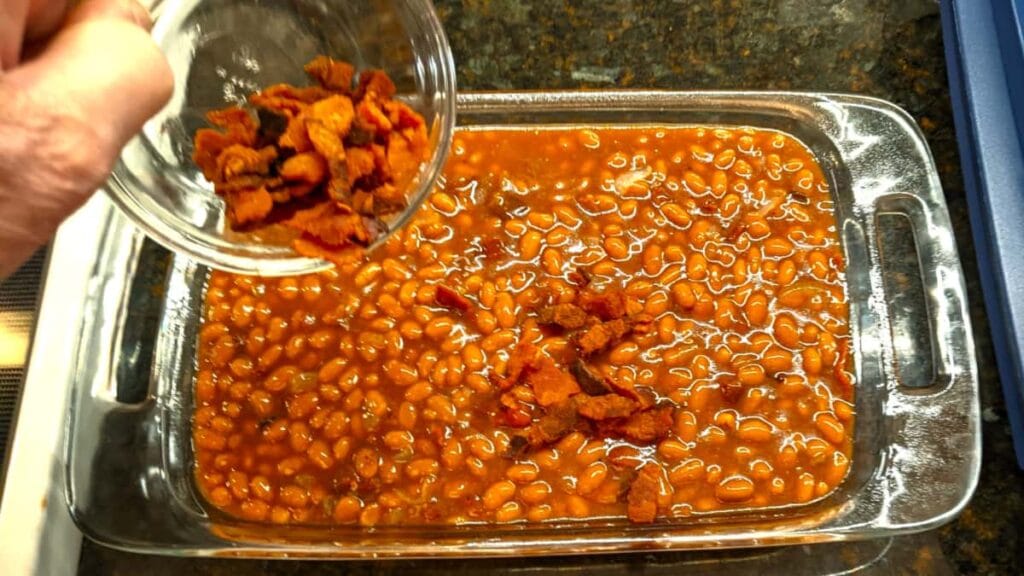
What to Add to Baked Beans — Easy Add‑Ins & Casserole
Quick, Southern-style hacks of what to add to baked beans to make it a homemade-tasting side. Includes a 2½-qt baked…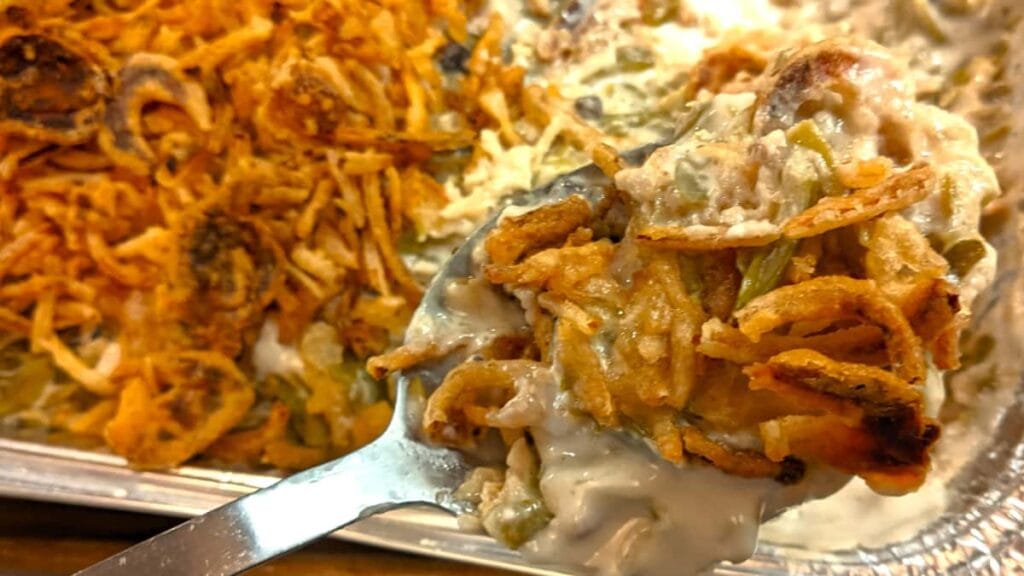
French Bean Casserole Recipe: Classic Holiday Side
This classic French bean casserole (green bean casserole) uses French-style canned beans, cream of mushroom soup, and a golden crispy…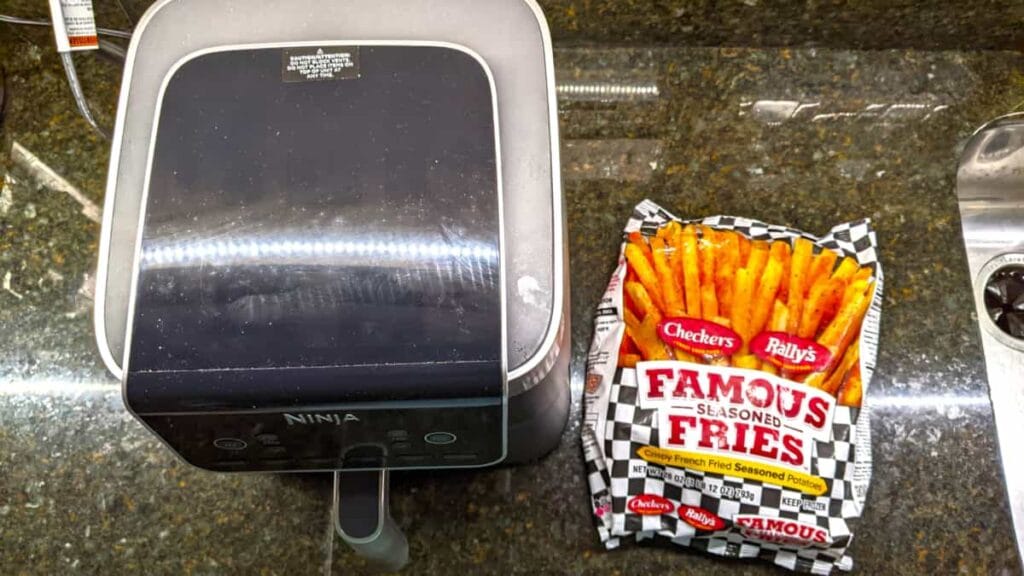
Checkers Fries Air Fryer
Here's the missing Checkers Fries Air Fryer Instructions. Step-by-step on air frying frozen Checkers - Rally's French Fries. Expert tips…
Southern SWEET POTATO CASSEROLE
This Southern Sweet Potato Casserole with canned yams and pecan crusted topping is from the 1990s. Very unique topping you'll…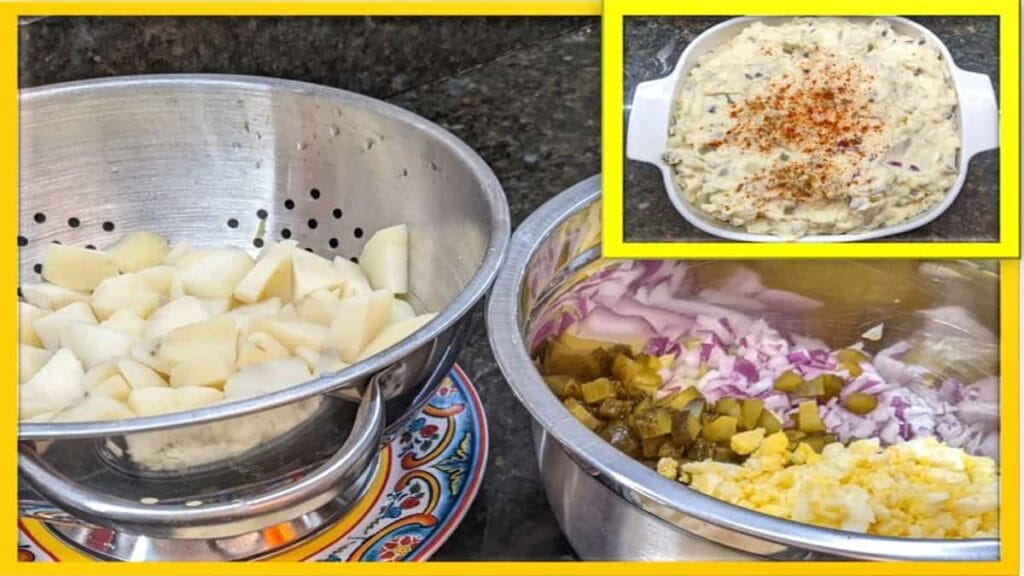
How To Make SOUTHERN POTATO SALAD
This is a complete easy-to-follow guide on how to make Southern Potato Salad. It's all timed and coordinated for speed…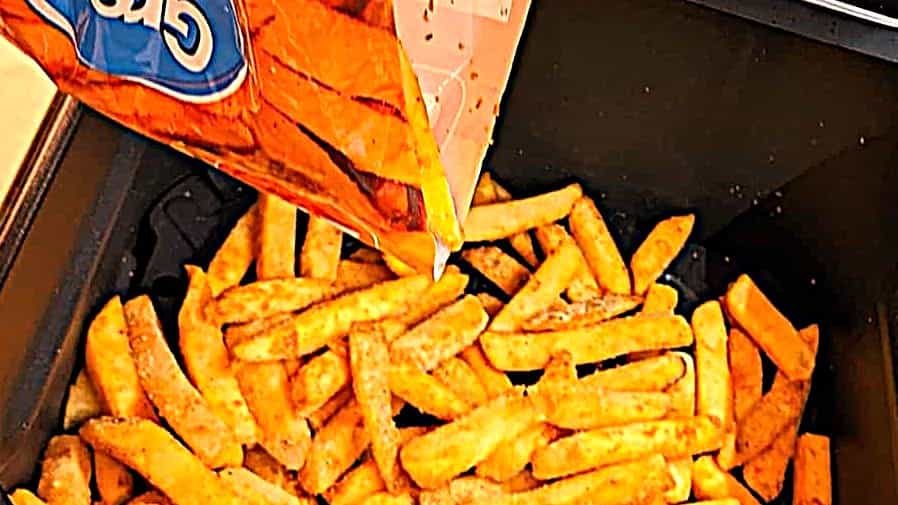
Frozen FRENCH FRIES in the AIR FRYER
This is a full guide of how to cook frozen French Fries in the air fryer. An added bonus is…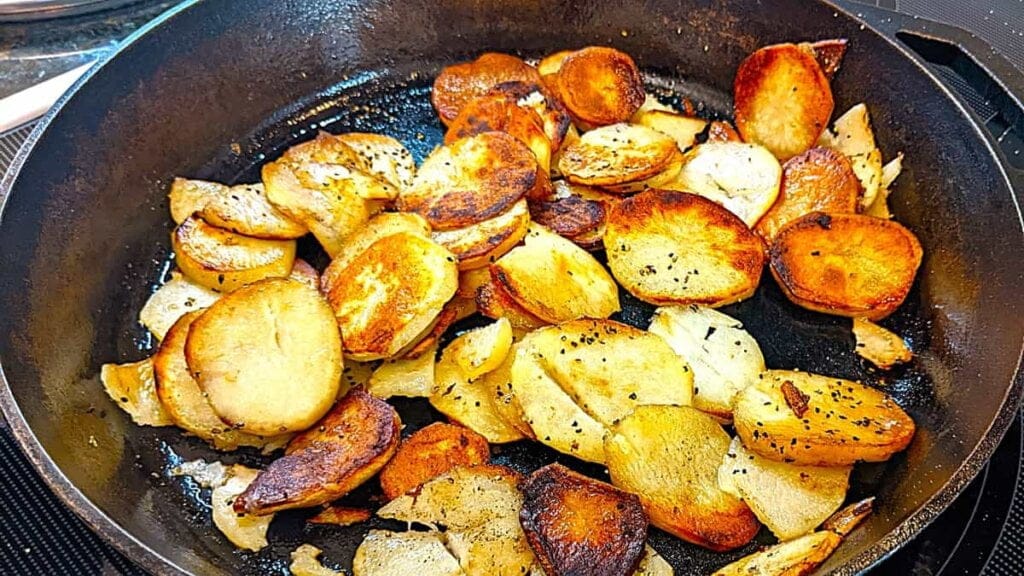
Pan Fried Potato Slices
This home pan fried potato slices recipe shows you how to easily cook slice potatoes in skillet. Prep is under…
Stir Fry ZUCCHINI AND YELLOW SQUASH
This 10 minute stir fry zucchini and yellow squash recipe is very unique and full of flavor as a side…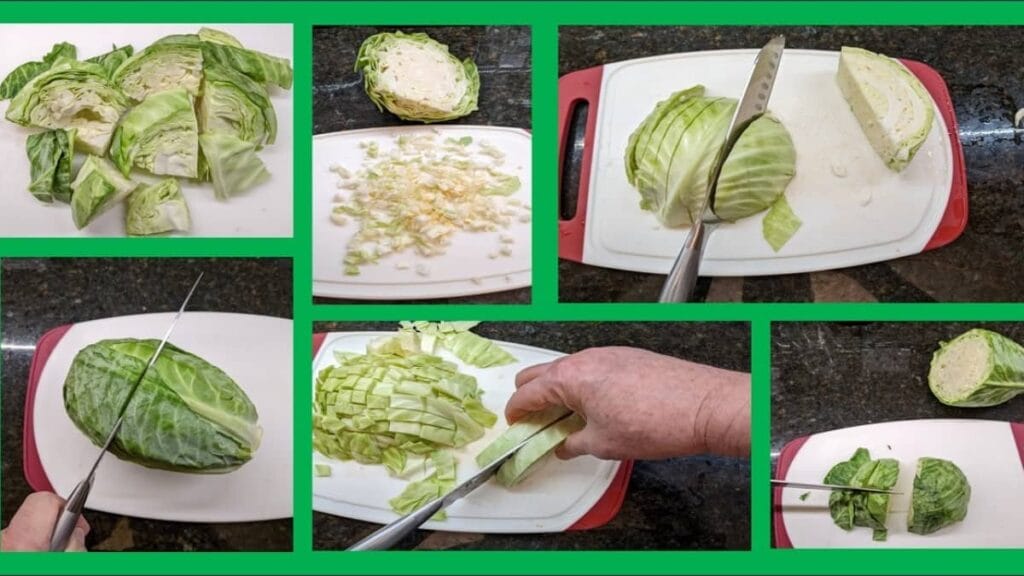
How To CUT A CABBAGE
This is how to cut a cabbage head FAST & EASY using our complete step-by-step guides with pics. See how…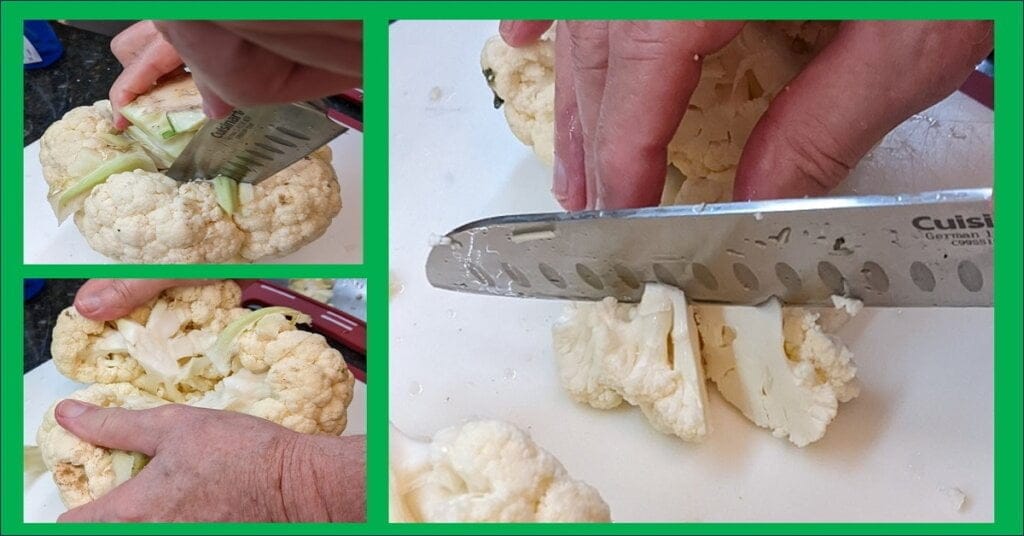
How To CUT CAULIFLOWER Into Florets
FAST restaurant way of how to cut cauliflower into florets properly. Complete guide, step-by-step with pics. Also see related cauliflower…
This site is protected by reCAPTCHA and the Google Privacy Policy and Google Terms of Service apply.
© 1996-2026 Jeffrey Thomas Baygents. All rights reserved.